Sharp tools make good work. Want to take a nice, stunning photo by the App? We have 5 TrailWatch tips for you, so you can take scenery pictures like a pro. Let’s go take them all!
1. Nature is beautiful, so is natural.
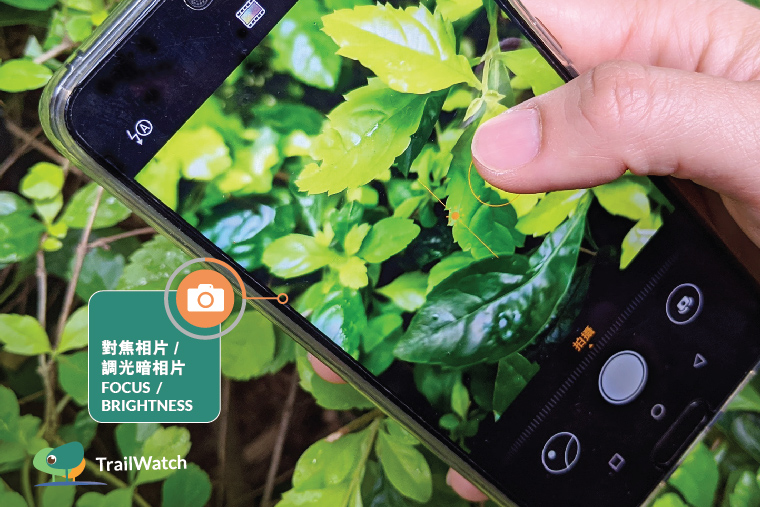
Be original! In addition to encouraging everyone to enjoy our nature the TrailWatch app also provides all-natural filterless photo functions. You can focus simply by pressing the screen where you want to focus; adjust the photo brightness by pressing the screen (again) and scrolling up or down. For better zoom-in pictures, you also apply additional close-up lens for small little things such as ferns and insects.
2. Lost and found : where are the photos going?
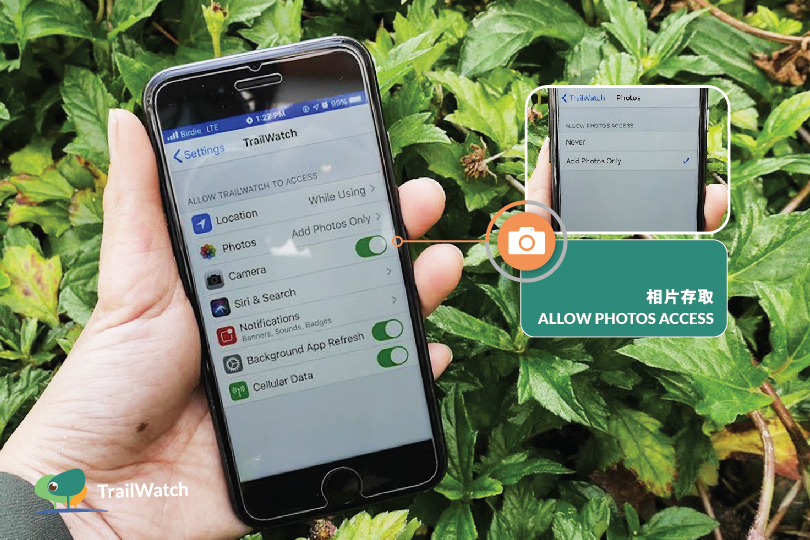
Besides marking landscape and wildlife photos along the trail, the App also backs up and saves your photos. In order to save and view the taken in the App, iPhones users need to enable "Allow photos access" in the settings before the photos will appear in "Photos". As for Android users, your photos will be placed in / dcim / camera. Remember not to move or delete photos until the route is uploaded, otherwise your route photo record will be incomplete.
3. Save data and use WiFi upload
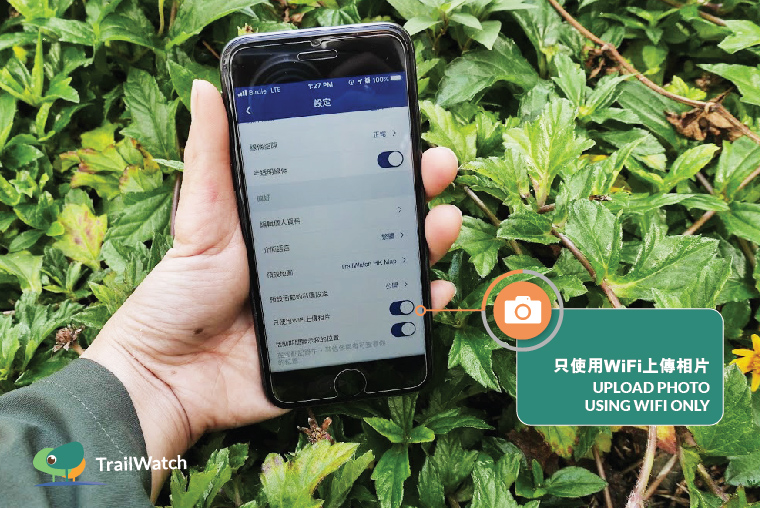
You can save internet data by simply selecting the settings in the upper right corner, go to "Preferences" and turn on "Upload Photo using WiFi only". When you have a good WiFi signal, the records and photos will be uploaded one by one. If you don't know when the upload is complete, you can touch and pull down the main screen to refresh the record. Uploading may take time, please be patient.
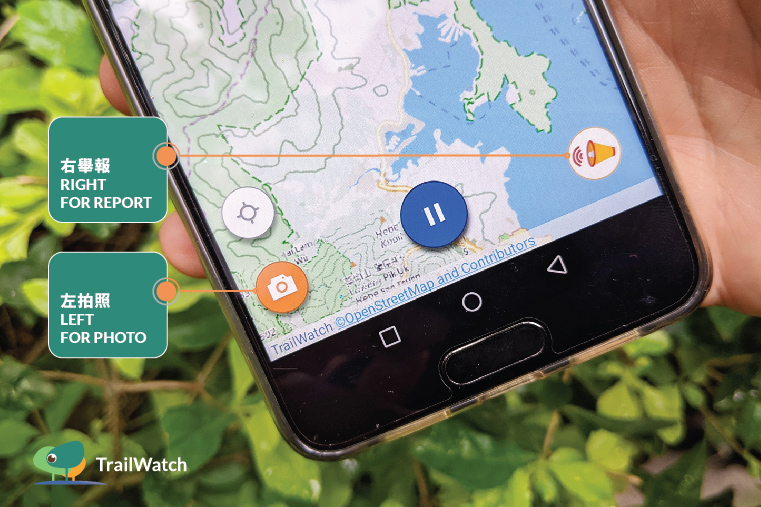
4. Left for photo, right for report
Have you noticed the two icons on the left and right bottom of the screen while tracking records? Some of you may have accidentally pressed the "megaphone" icon, thinking it is a camera function, but it actually allows you to "incident report", which requires accurate location and information for follow-up. Since we only accept realtime photos taken in the App, users cannot delete and edit reported cases, nor update for incidents. If you use the incident function by mistake, the photo will still remain in your phone, but the record will be hidden.
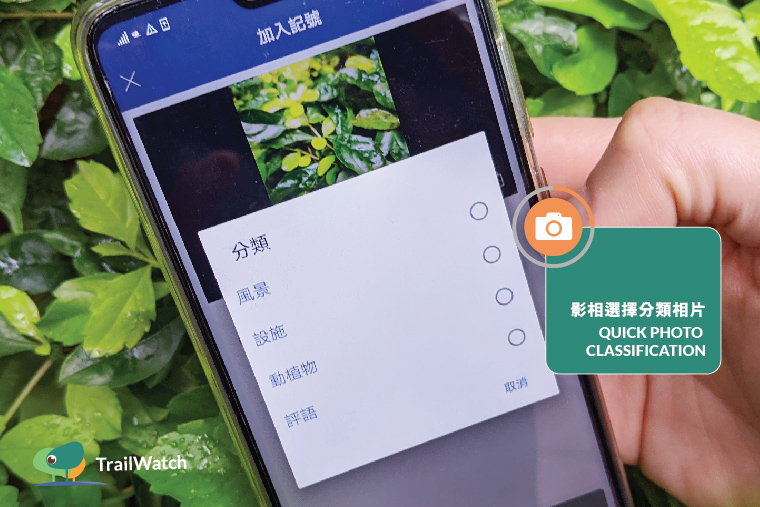
5. Quick photo classification: make good use of the “Last use type photo”
How to hike and take pictures efficiently? TrailWatch photo function supports simple classification and description/ notes taking. Corresponding icons will be displayed on the route record, you can also change the photo type and text after the route and photo upload is completed.
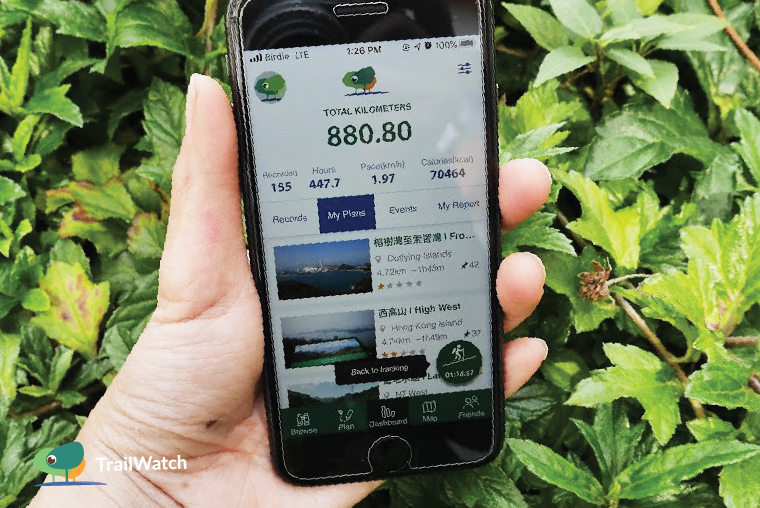
In addition to the above tips, please remember to pause, end and save the route after your trip! If you see a green icon with a hiker at the right bottom corner, it means you have not finished your route. If you have any other questions when using the TrailWatch App, please leave us a message on Facebook or send us an email. Thanks!